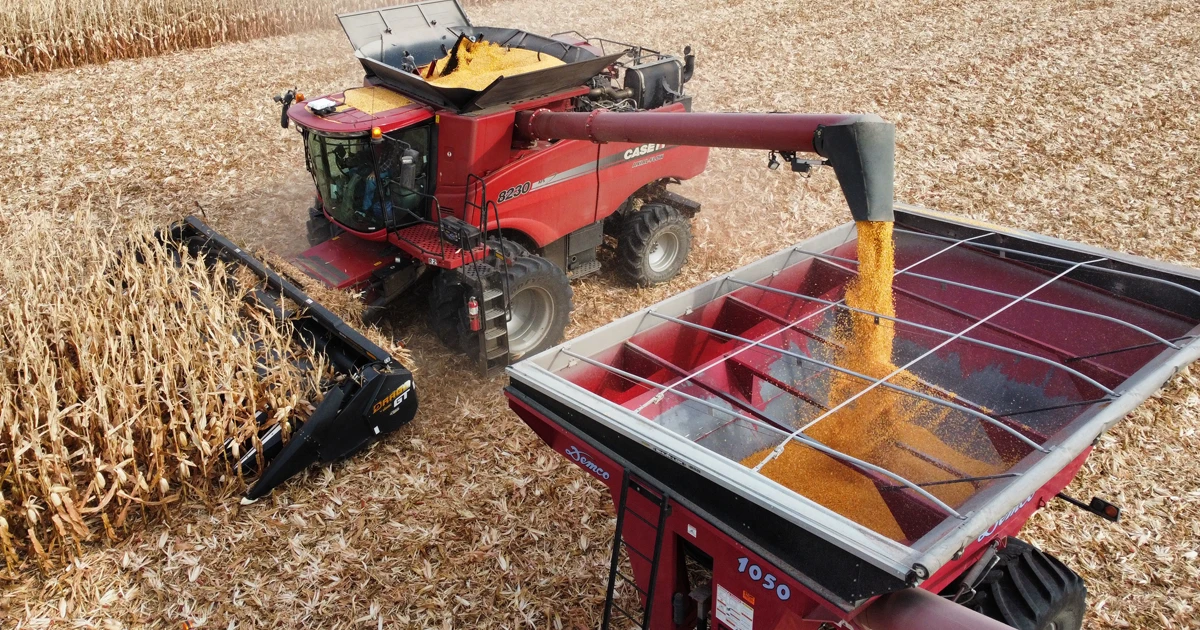
Running Razors Edge Concaves isn’t about bolting them in and hoping for the best. These concaves are designed to thresh efficently up front and distribute crop evenly through the rotor. However, to get the return you expect, you need to set the machine up correctly. This guide walks through how to get things dialed in, step by step.
1. Start with a Solid Setup
Before you even hit the field, take a minute to square everything up. It makes a difference.
- Zero out and calibrate the concaves during install
- Check alignment between the rotor and concaves
- Calibrate the sieves, too; it’s easy to overlook, but it affects everything downstream
This only takes a few minutes but saves a ton of headaches later.
2. Measure Loss the Right Way
You can’t dial in settings if you don’t know where the losses are coming from.
- Use a Drop Pan to get a clear picture (We recommend the ScherGain Drop Pan)
- Take a baseline sample, then run one every time you make changes
- If you’re chasing rotor vs. sieve loss, do a power shutdown and check where the grain’s piling up
- Once you’ve got good data, calibrate your loss monitor so it actually reflects what’s happening behind the machine.
Getting your numbers straight up front makes every other tweak easier.
3. Focus on Threshing First
Threshing is where most of the crop is won or lost. With Razors Edge, you don’t need to run your rotor like it’s in a race.
- Start with a slightly wider concave clearance
- Bring your rotor speed down a bit compared to system settings to maintain throughput
- Keep crop feeding steadily; if you go too slow on ground speed, you won’t be filling the rotor enough for good separation
Less aggression here usually means fewer cracks and more in the hopper.
4. Dial in the Cleaning System
Once threshing looks good, shift focus to cleaning.
- Open up the chaffer and sieve a bit until your sample trends dirty
- Then slowly close things up until it cleans up again
- Adjust the chaffer first, then fine-tune the bottom sieve
- Don’t forget the wind. Lighter crops need less air, heavier ones may need more to get the job done
Tuning this in small steps gets you closer to that clean, market-ready grain.
5. Razors Edge Quick-Start Crop Baselines
The included settings cards provided with your Razors Edge concaves give you solid starting ranges for the main crops. Use these as your launch point, then fine-tune based on crop conditions and field variability.
6. Slow Tweaks, One at a Time
If you start seeing cracked grain, open the concave a touch and slow down the rotor. Razors Edge is built to deliver clean threshing at lower rotor speeds, which minimizes damage. If the sample looks dirty, close the sieves slightly or add a bit more wind always in small increments and verify the change with the pan.
This part takes a little patience, but it pays off.
- Make one adjustment
- Run a test pass
- Drop the pan again
- Watch your loss monitor and check the sample
If you move everything at once, it’s hard to know what worked and what didn’t. Small steps will get you closer to the sweet spot without overdoing it.
7. Multi-Crop Efficiency
One of the advantages of Razors Edge is that you can carry a single setup across multiple crops: wheat, soybeans, corn, and canola, with minimal changes. Cover plates are typically not required, which cuts downtime between crops and keeps grain flowing smoothly.
8. Close-Out Checklist: What you Need to Know
Before you settle in for the day, run through a quick checklist:
- Confirm rotor speed, concave clearance, and ground speed are in sync
- Verify chaffer, bottom sieve, and wind balance through the sample and pan checks
- Keep the settings card or the QR code sticker you received with the Concaves handy in the cab for quick reference
It’s not about perfection; it’s about finding a consistent, reliable setup that keeps losses down and grain quality up.
Still can’t get things working the way you expected them to? Give your dealership, or Thunderstruck Ag salesperson a call 1-855-612-7006 for more information.


